Wow Ways with Word
Microsoft Word is one of the most widely used word processing applications in the world. It is a powerful tool that can help you create and edit documents with ease. However, many users are unaware of the many features and functions that Word has to offer. In this blog post, we will share some Microsoft Word tips and tricks to help you get the most out of this wonderful word application.
Use shortcuts
Using shortcuts can help you work more efficiently and save time. Here are a few essential shortcuts to keep in mind:
- Ctrl + C: Copy
- Ctrl + X: Cut
- Ctrl + V: Paste
- Ctrl + A: Select all
- Ctrl + Z: Undo
- Ctrl + Y: Redo
- Ctrl + F: Find
- Ctrl + H: Replace
Master the Navigation Pane
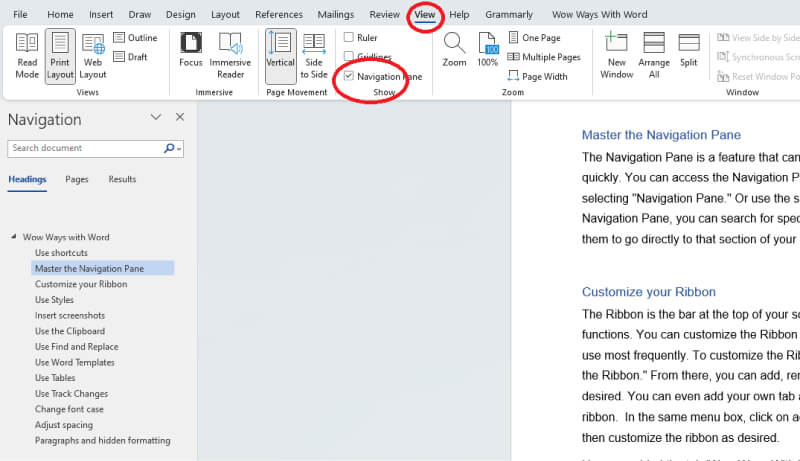
The Navigation Pane is a feature that can help you navigate through long documents quickly. You can access the Navigation Pane by clicking the "View" tab and then selecting "Navigation Pane.". Once you have opened the Navigation Pane, you can search for specific text or headings, and then click on them to go directly to that section of your document.
Customize your Ribbon
The Ribbon is the bar at the top of your screen that contains all of Word's tools and functions. You can customize the Ribbon to include the tools and functions that you use most frequently. To customize the Ribbon, right-click on it and select "Customize the Ribbon." From there, you can add, remove, and reorder the tabs and tools as desired. Drop down the menu to show all commands, then you will access all of the available buttons.
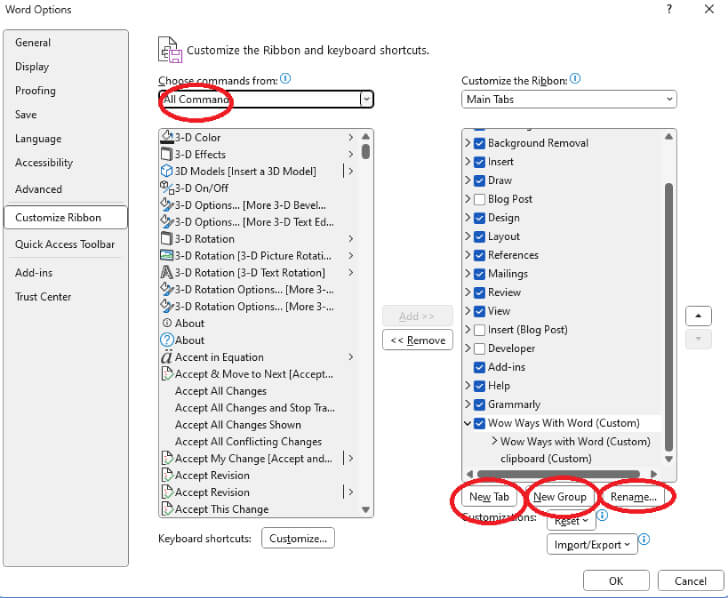
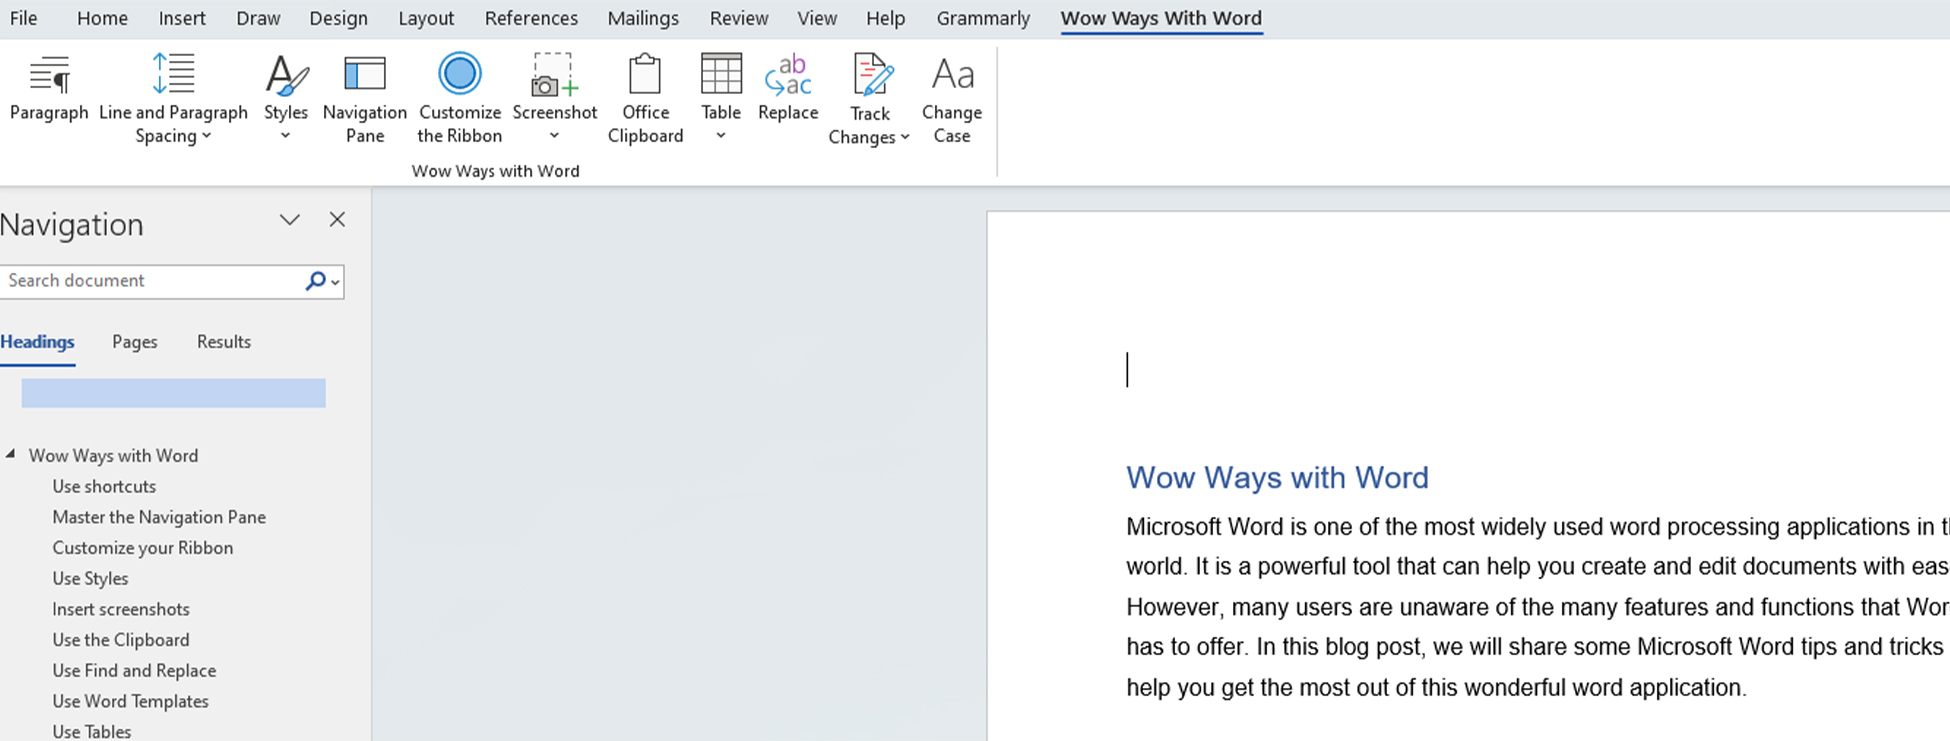
You can even add your own tab and place your favourite tools all in one ribbon. In the same menu box, click on add tab, rename your tab and add group, then customize the ribbon as desired.
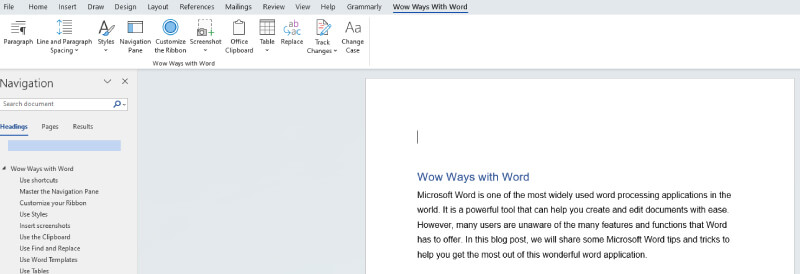
Here we added the tab ‘Wow Ways With Word’ and customised the ribbon with the relevant buttons from this blog
Use Styles
Styles are a powerful tool that can help you format your documents quickly and consistently. You can use styles to apply formatting to headings, paragraphs, and other elements of your document. To use styles, select the text you want to format and then click on the appropriate style in the "Styles" section of the Home tab. You can add styles to reflect your branding or type of document.

Insert screenshots
If you need to insert a screenshot into your document, you don't need to use a separate program to capture the image. Word has a built-in screenshot tool that allows you to capture an image of any open window or desktop. To use the screenshot tool, click on the "Insert" tab and then select "Screenshot." Unfortunately for this blog, this tool doesn’t work in the Word document you are working on!
Use the Clipboard or Quick parts
The Clipboard is a powerful tool that allows you to store and retrieve up to 24 items of text or graphics. To access the Clipboard, click on the "Home" tab and then select "Clipboard." From there, you can copy and paste items as desired. Quick Parts are saved selections of text. Click “Insert “ tab, select the text you want to use regularly, then click the drop down on ‘quick parts’ and save selection to quick parts. We shall be doing a blog on this feature in the future and it relates to building blocks and can be used in many Microsoft 365 Applications.
Use Find and Replace
The Find and Replace feature is a powerful tool that can help you make changes to your document quickly and easily. You can use Find and Replace to search for specific text or formatting and then replace it with new text or formatting. To use Find and Replace, click on the "Home" tab and then select "Replace."
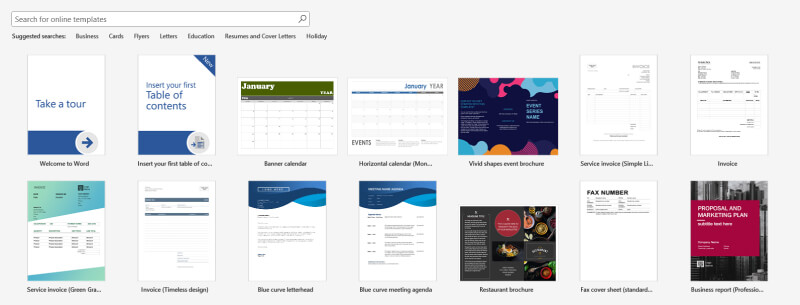
Use Word Templates
Templates can help you create professional-looking documents quickly and easily. Word comes with many pre-designed templates that you can use for resumes, letters, and other types of documents. To access the templates, click on the "File" tab and then select "New." We shall be doing a blog next month using some of these in Word and other Microsoft 365 applications.
Use Tables
Tables can help you organize information in your document and make it easier to read. To insert a table, click on the "Insert" tab and then select "Table." From there, you can select the number of rows and columns you want and then start entering your data.
Use Track Changes
Track Changes is a powerful tool that allows you to keep track of changes made to your document. You can use Track Changes to make edits and comments, and then send the document to others for review. To use Track Changes, click on the "Review" tab and then select "Track Changes
Change font case
If you want to change the case of your text, Word provides several options to do so. You can use the "Change Case" button in the "Font" group of the "Home" tab to switch between UPPERCASE, lowercase, tOGGLE cASE, Capitalize Each Word and other options. You can also use keyboard shortcuts like Shift + F3 to cycle through different case options.
Adjust spacing
Word allows you to adjust the spacing between lines, paragraphs, and characters to improve the readability of your document. You can access the spacing options by clicking on the "Home" tab and then selecting the "Line and Paragraph Spacing" button in the "Paragraph" group. From there, you can choose from predefined spacing options or customize the spacing by selecting "Line Spacing Options" or "Paragraph Spacing." You can also adjust the spacing between characters by selecting the text you want to change and then clicking on the "Font" tab. From there, you can change the "Spacing" options to adjust the character spacing.
As you can see by this paragraph you can adjust selected text too.
Hidden formatting
Have you been sent a document and want to see how it’s been formatted? Hidden formatting refers to the formatting applied to a document that is not visible on the page. This includes formatting such as line breaks, tab stops, and page breaks. While these formatting elements are essential for organizing a document, they can sometimes cause issues when they are not properly managed. Hidden formatting can cause problems with page layout, indentation, and spacing, and can make it difficult to edit or format a document correctly. To view hidden formatting in Word, you can click on the "Paragraph" button in the "Paragraph" group of the "Home" tab and then select "Show/Hide ¶" to reveal hidden formatting symbols. By managing hidden formatting, you can ensure that your document is formatted correctly and that it looks the way you want it to.
And there’s more!
Do you want to learn more about Microsoft 365? Then follow our blog posts for more information on this and all aspects of IT. Not using Microsoft 365 yet? Then click this link and then contact us for more information on how you can get this powerful suite of applications. Or would you like more assistance with your IT, sign up for IT support today.
